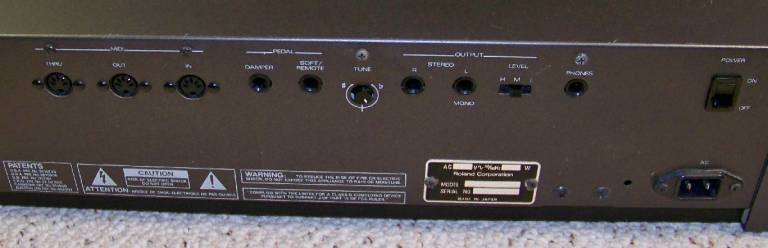
Roland RD-300s Restoration
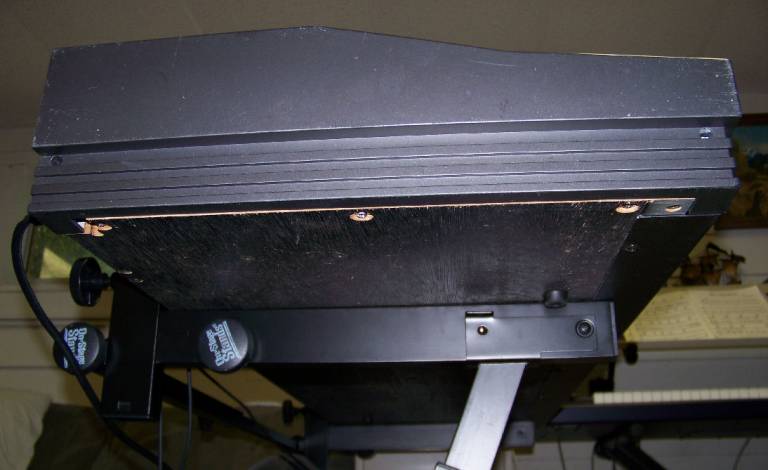
Hinged cover is easily opened by removing 3 bottom screws at each end housing and the forward most screw on the side of each end housing.
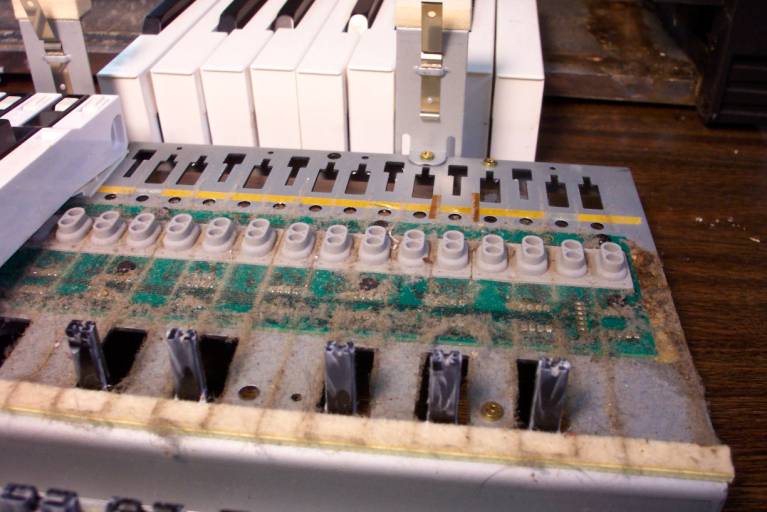
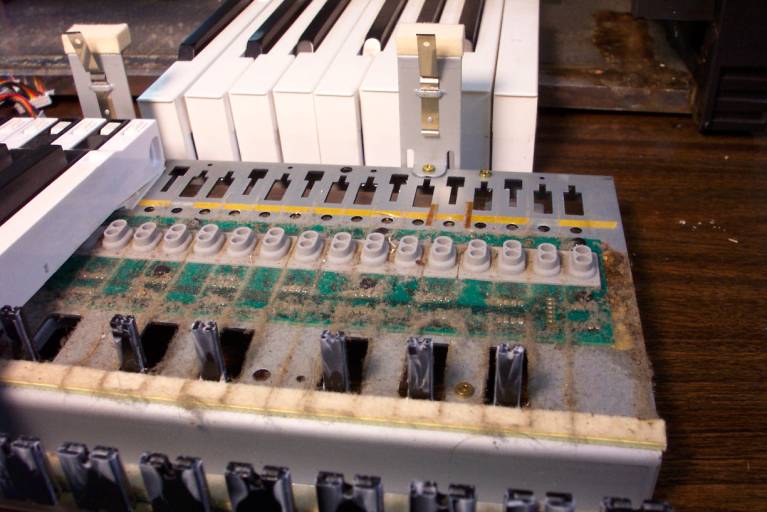
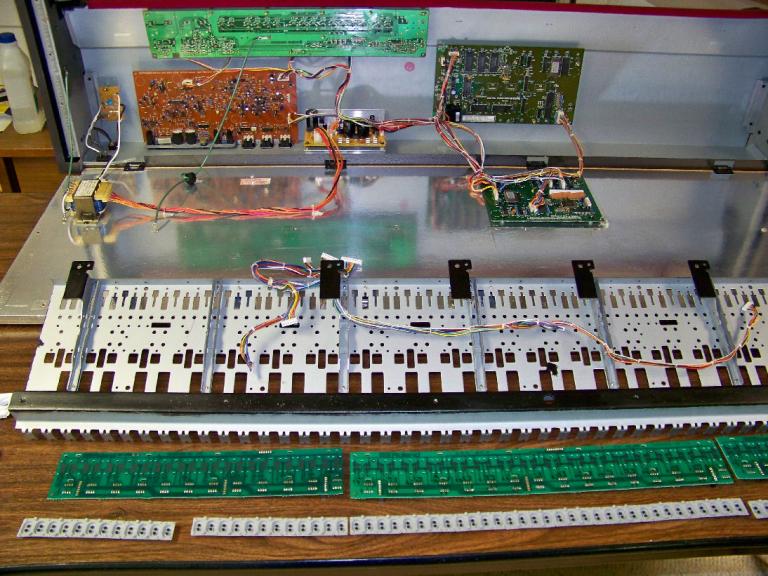
The Interior reveals years of dust, debris and liquid spillage.
Now I understand why several keys didn't function and the rest sound like they're out of tune.
But hey, the price was right. I got this from a friend for free.
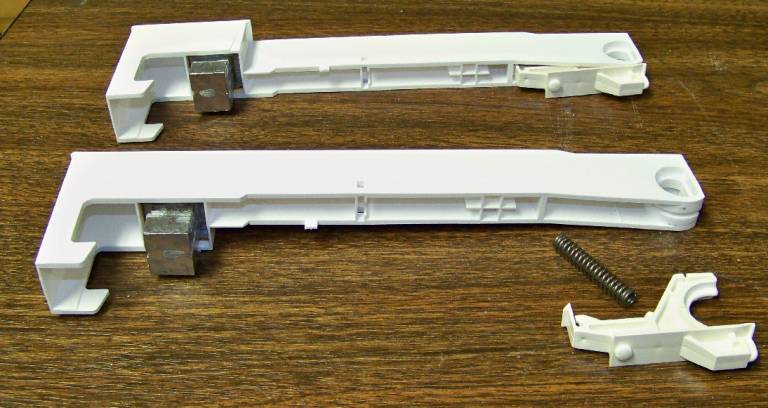
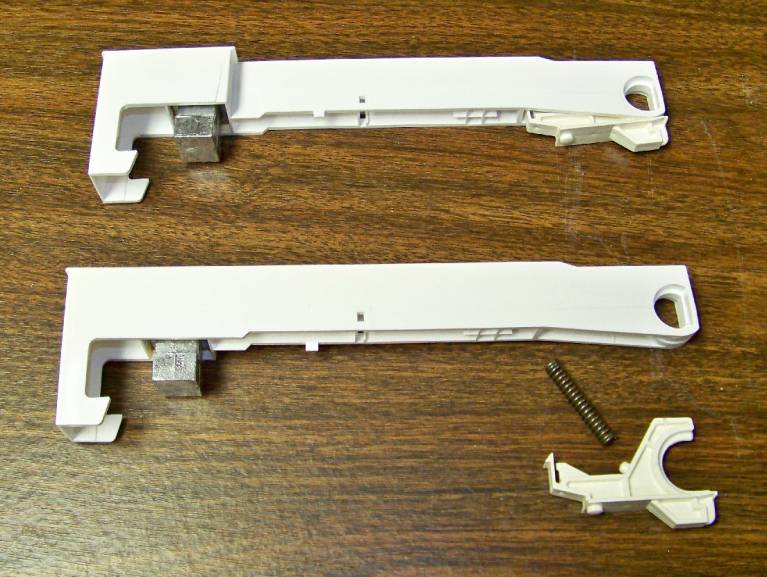
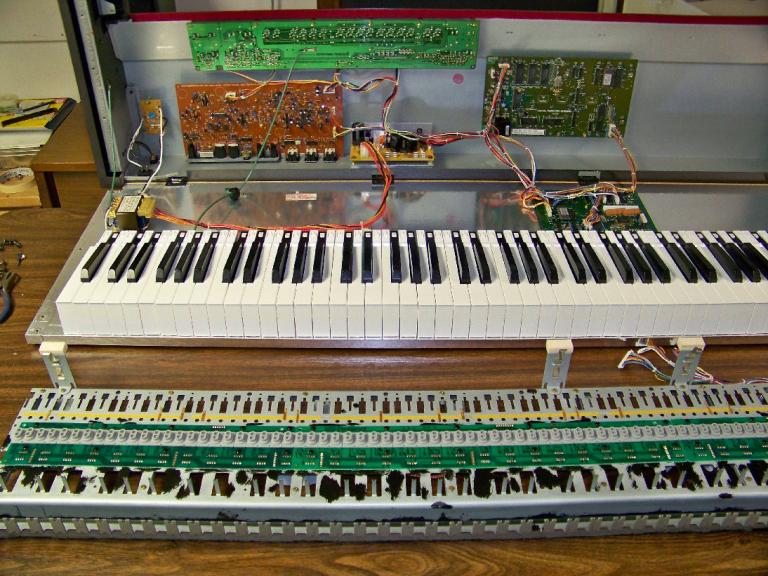
After removing the keyboard assembly (screws and wire connectors to remove is obvious), the individual keys can be slid off as follows: From the underside of the keyboard assembly sheet metal, press the small white plastic button up with a tool and carefully slide the key forward for white keys, backwards for black keys. I say carefully as the spring inside each key can easily become disengaged, though not a real big deal as the key - spring - hinge mechanism is a simple design and easily re-assembled.
The white goo on the black plastic key guides is key-grease. I was unable to find a small quantity of "key-grease", and unwilling to spend $80 for a lifetime tub supply from Roland. No one has been able to identify exactly what this stuff is. Many claim that it's lithium grease, but it isn't. Feels more like a waxy Teflon paste. Anyway, I carefully removed the guides, touching them as little as possible, and set them aside in a plastic bag. The key-grease is also used on the individual key hinge joints.
I vacuumed the dust and debris up as I went along removing the keys and guides, being careful not to contaminate the old key-grease, which has been well preserved by the keys.
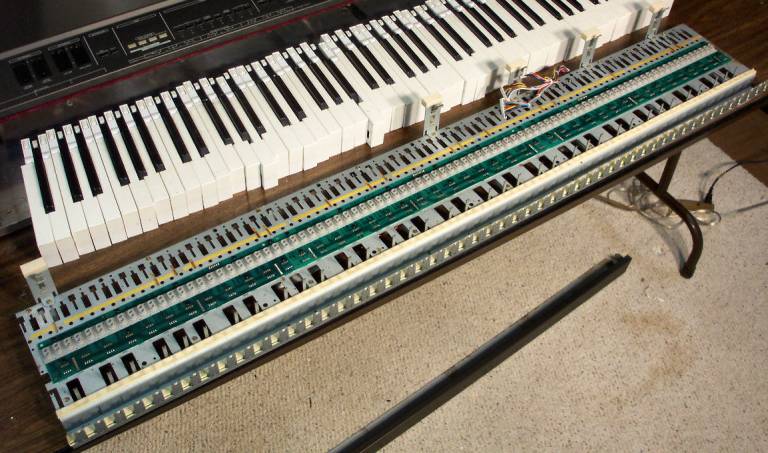
After removing all the keys and guides, and a thorough vacuuming, I cleaned the visible circuit board with lots of Q-Tips and rubbing alcohol. I kept all the keys in the exact order they were originally attached.
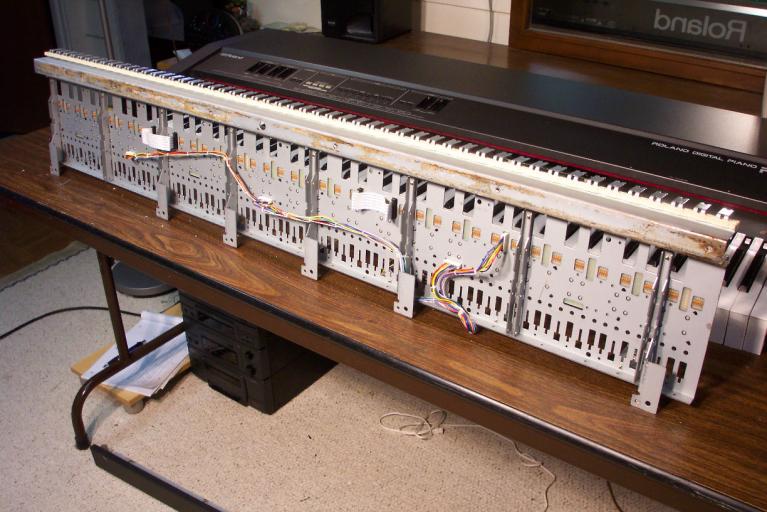
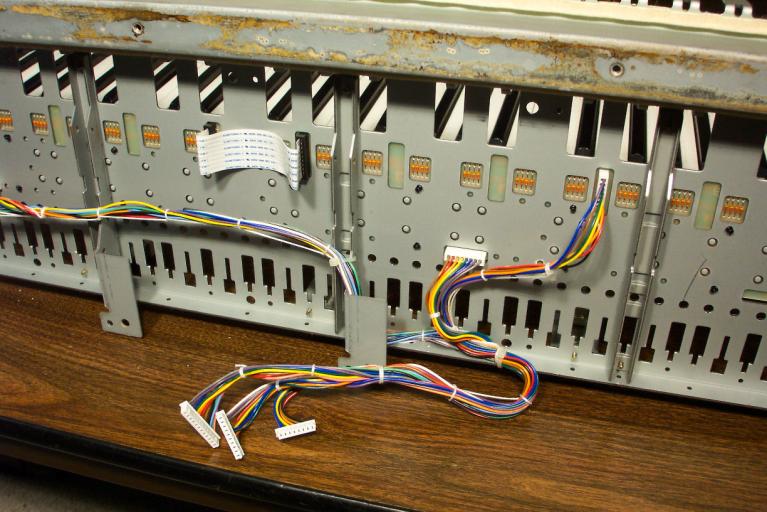
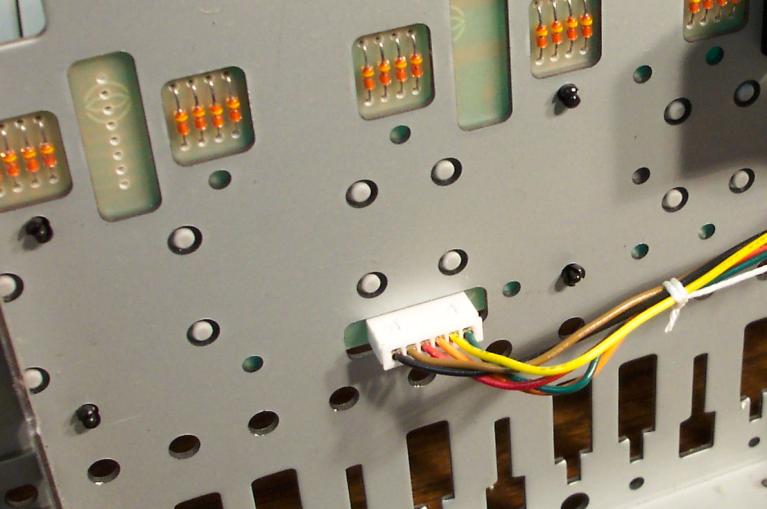
Since the three electrical connectors that attach the keyboard assembly to the main circuit board are each a different length, there's no need to worry about plugging them in wrong during re-assembly.
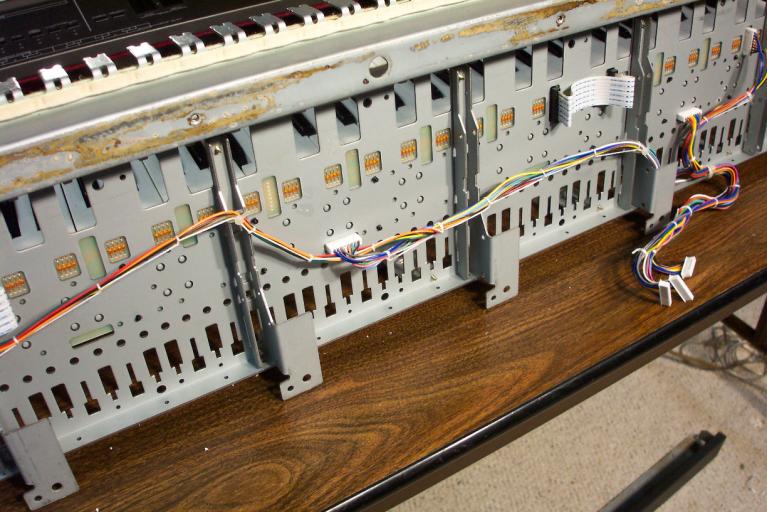
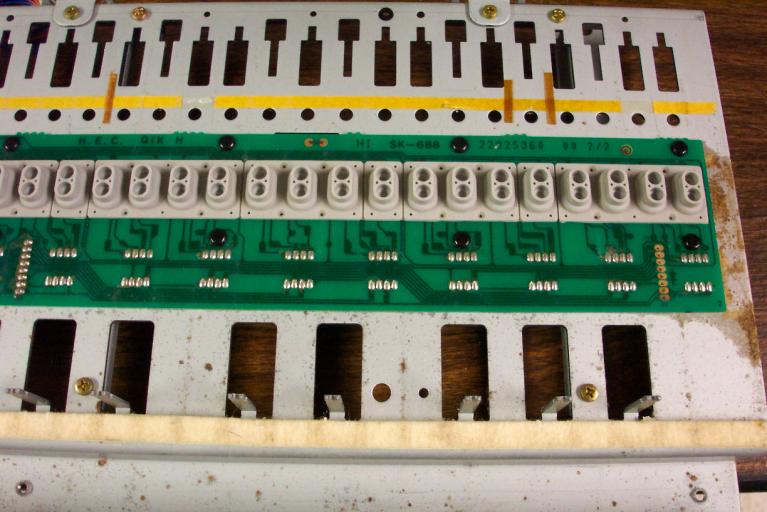
The keyboard circuit boards are attached to the sheet metal with black plastic rivets. These can easily be removed and reused. Press the center pin from the bottom and pull head from the top. Then squeeze what's left of the fastener together from the bottom and push through the hole.
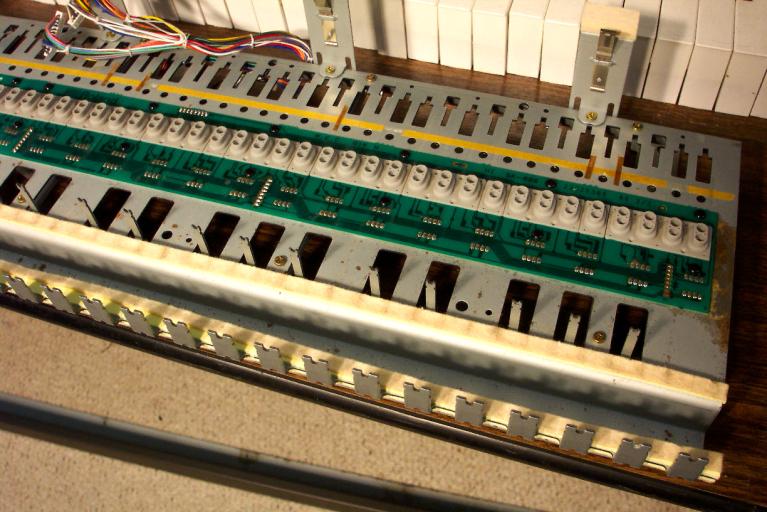
The small round grey things in the above picture are the tabs that hold the silicone membrane switches to the circuit board. Before removing anything, take notes on the location of each circuit board (they have individual part numbers) and make a diagram (and take digital pictures) of how the membrane switches are located as they are not all the same and there's nothing to prevent you from putting them back on wrong.
I cleaned off all the sheet metal rust spots and protected it with a thin coat of touch-up paint (thicker in non-critical areas). The membrane switches were carefully removed from the circuit boards by pressing the small grey rubber tips through the circuit board bottom while pulling lightly on the switches. Everything was thoroughly cleaned with Q-Tips and rubbing alcohol, using extreme caution on the carbon contact pads of the circuit board as aggressive scrubbing can remove the carbon rendering the switch (thus the key) useless.

All Keys were individually washed with scrubbing bubbles bathroom cleaner (the stuff works great on plastics). I did not wash the key hinge surfaces as they did not need it and I wanted to preserve the key grease.
Though I don't have pictures of it, I did order all new felt from Roland. The new felt is substantially different from the felt I removed, but Roland assured me that it was the right item. Basically, the old felt was actually a thin piece of felt adhered to a silicone foam gasket, where-as the new felt was pure felt all the way through with no silicone gasket.
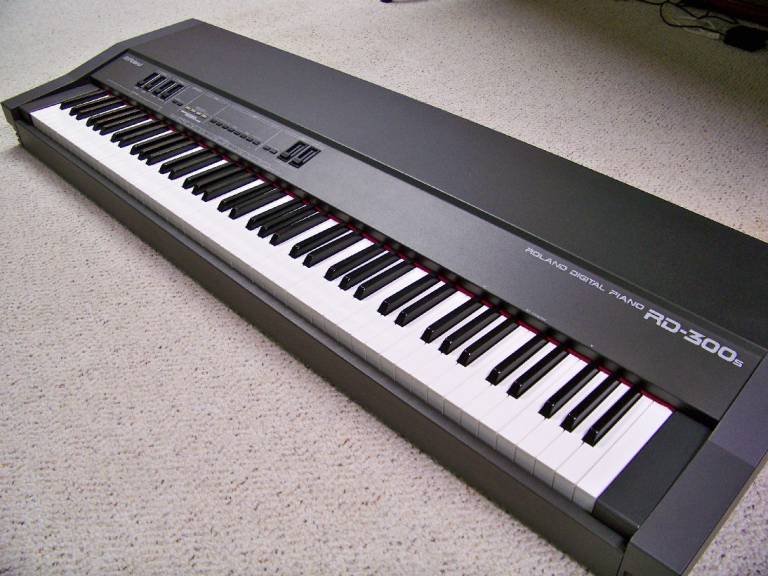
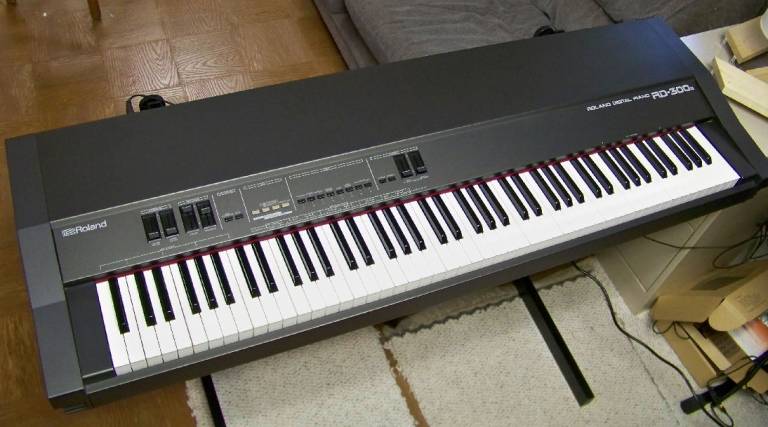
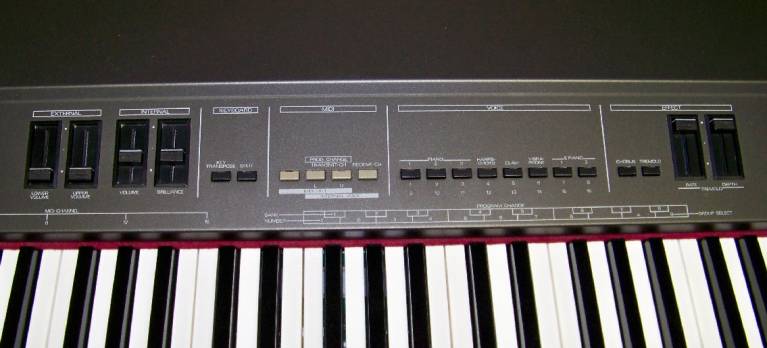
I also removed the slide control buttons and circuit board and gave it a thorough vacuuming and rubbing alcohol treatment. Now that the keyboard is back together, the keys all feel good and have consistent sound throughout. The exterior pictures at the beginning of this write-up are actually the finished, cleaned project.